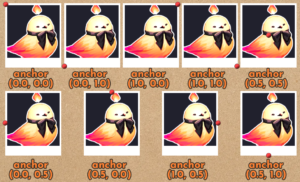
Since we’ve covered position properties (Ren’Py Position Properties – Pos and Anchor), next we’ll look at all the various size properties you can use when constructing screens for Ren’Py.
As a refresher, in these tutorials I use element to refer to the thing you’re trying to change the size of, and container to refer to the space the element is located inside. The container is by default the entire screen. element can be anything; an image, a bit of text, a button, etc.
This tutorial builds on information learned in earlier tutorials on screen language, particularly position properties Ren’Py Position Properties – Pos and Anchor and Ren’Py Position Properties – align, xycenter, and offset. You can start with Getting Started with Ren’Py Screen Language if you’re new to screen language in general.
Floats, Integers, and None
Like with positions, floats and integers are treated differently when provided to size properties. Integers are considered exact pixel values. So, a width of 300 is treated as exactly 300 pixels wide, regardless of the size of the element’s container. Meanwhile, a width of 0.5 is treated as a percentage of the width of its container, specifically, 50%. So if the container is 300 pixels wide, a width of 0.5 for the element will cause it to be 150 pixels wide.
For the most part, you will probably be using exact pixel values (integers) to specify the size of your element. The main exception to this is using None. Most size properties begin as None since they conflict with one another, kind of like how align and pos conflict with one another because align sets pos and anchor.
Uniquely, however, if all size properties are None, an element usually tries to only be as large as it needs to be. So, text will only be as large as required to display every letter, for example. If you’re trying to get a container to be only as large as its contents (for example, a messenger bubble containing text), make sure xsize and ysize are set to None, whether that means explicitly setting it or not changing the default value from None (maximum and minimum will come for free in such a case, as you’ll see below).
A Note on Size Properties
When you set the size of a container, with a few exceptions, Ren’Py does not treat this as a hard boundary when it comes to displaying the final container to the screen – specifically, elements inside the container will not be cropped to the size of the container. The exception to this is a special container called a viewport (which does crop its children) and resizable elements, such as the Solid, Frame, and Tile displayables (which will resize themselves to fit the available space only). Many of these will be covered in later tutorials.
Internally, elements will treat their sizes appropriately for layout purposes, but if you put a giant image (e.g. 700×700) inside a small container (e.g. 200×200), the image will still display at 700×700 and will not be cropped off at the 200×200 mark, or resized down. You would need to specify the size of the 700×700 image (not just the container) to resize it, or crop the image to the right size yourself (which you can do in-engine with crop).
xysize
xysize, as the name suggests, sets the size of an element directly. As with position properties, size properties also come in two varieties – xsize for controlling the width of the element, and ysize for controlling the height of the element. xysize will let you supply two values, the xsize and the ysize respectively e.g. xysize (100, 200) for an element that’s 100 pixels wide and 200 pixels tall.
This property is used for setting the exact width and/or height of an element. You don’t necessarily need both an xsize and a ysize; sometimes, for example, you might want something to be exactly 500 pixels wide, but it can be as tall as it needs to be based on its contents. In that case, you can just set the xsize and leave the ysize out or set it to ysize None.
Below are some examples. I’ve included a coloured orange square in the images to visibly show the boundaries of the container.
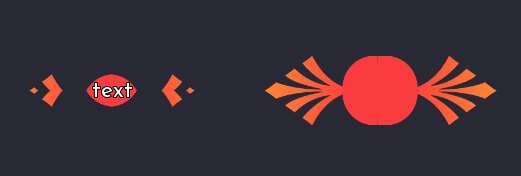
# fixed with set width and height
fixed:
    xysize (350, 350)
    text "Hello, world!" align (1.0, 1.0)

# Vbox with a set width, but it's as tall
# as it needs to be to hold the text
vbox:
    xsize 500
    text "Hello!"
    text "World!" xalign 1.0

# Hbox with a set height, but it's as wide
# as it needs to be to hold the text
hbox:
    ysize 120
    text "Helloooo"
    text "Wooooorld" yalign 1.0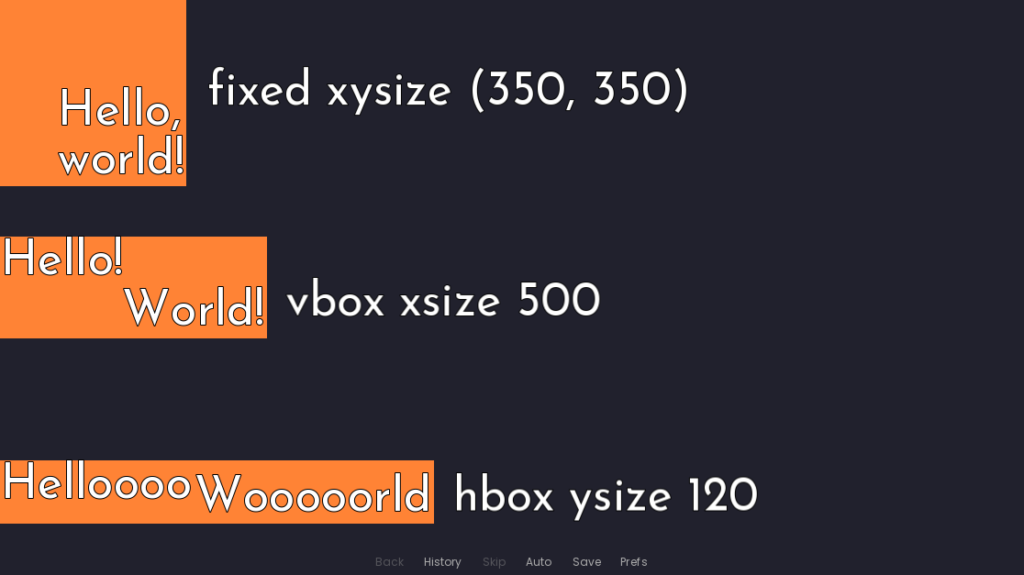
Note: You may also occasionally see the size property used in code snippets you find online. The size property is an older version of the xysize property with more restrictions on where it can be used. size and xysize largely work in the same way, but you should always use xysize instead of size in modern Ren’Py (in all situations).
Minimum
In some cases, you want to let the element adjust its size based on its contents, but there should also be some minimum size so that it doesn’t cause your UI to look funky. For example, say you want to make a popup to inform the player of various things. Even if the message is very short like “Done!”, you probably want it to be some minimum size so that it doesn’t look weirdly squished just because there isn’t enough space to take up the whole popup area. But, if the popup message is very long, the popup area should have a maximum so the text wraps around instead of overflowing.

In this case, you should use minimum (and/or its x/y variants, xminimum and xmaximum). Note that this property is incompatible with xysize; if you set xysize, you are giving it an explicit size, so the minimum size becomes irrelevant. The xysize is the size, for all possible contents.
An example for the popup (once again with an orange square showing where the boundaries of the container are):
screen popup(popup_message):
    fixed:
        xsize 600 yminimum 400 align (0.5, 0.5)
        text "[popup_message]" align (0.5, 0.5)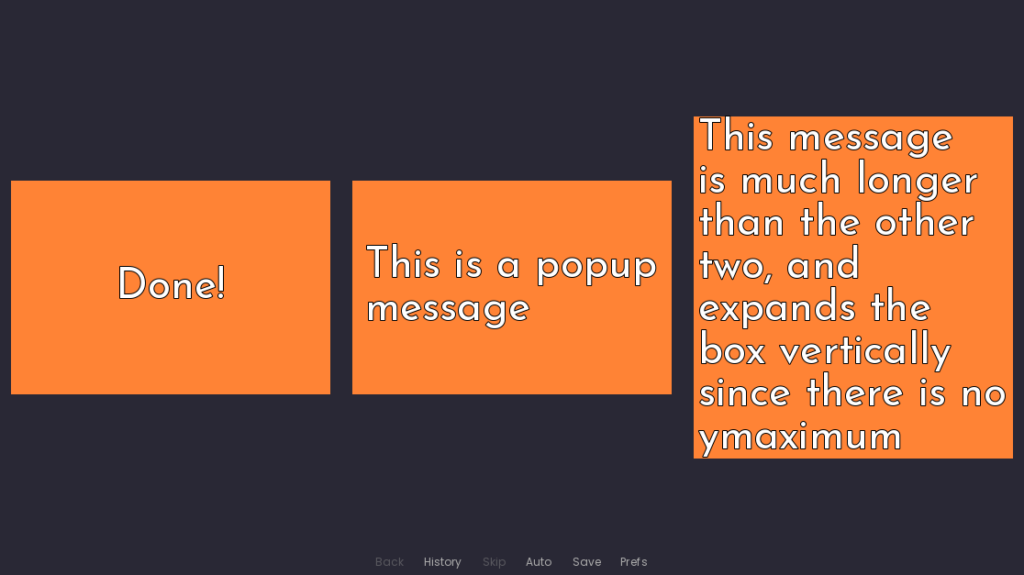
This makes a fixed container which is at least 600×400 pixels large. If the popup_message variable has a lot of text in it, then it’s possible the height will become larger than 400, but it will never be smaller than that. The xsize is fixed at 600, so it won’t get smaller or larger width-wise.
Maximum
On the opposite end, we have maximum, which restricts the maximum size an element can be, but not how small it can be. As with minimum, it is incompatible with xysize, since xysize directly sets the size, whereas minimum and maximum only place restrictions on it. In fact, xysize actually just sets both minimum and maximum to the same thing, much like what we saw with align setting both pos and anchor to the same value back in Ren’Py Position Properties – align, xycenter, and offset. If the minimum and the maximum width of an element are the same, then that’s just the width of the element.
Maximum is often useful in combination with minimum to restrict the area a given element can take up while still letting it expand or shrink a little to fit the contents. One use case of maximum is if you are making a phone messaging system and you want to display dialogue in little speech bubbles. There is a maximum width for the bubble – it obviously shouldn’t go past the width of the screen/should start wrapping the text before it reaches that point – but it shouldn’t have a set size either, because you want the bubble to only be as wide and tall as it needs to be to fit the text inside it.
Now, I haven’t introduced frames quite yet (it’s coming soon in this series!), but you can think of it like a fixed with a background. Here, I’ll give it a hexadecimal (hex) colour code for the background property, which gives the frame a rectangular background in that particular colour.
Thus, the messaging system may have a container that looks a bit like this:
vbox:
    frame:
        background "#f93c3e" # Red
        xmaximum 500
        text "A bubble message."
    frame:
        background "#ff8335" # Orange
        xmaximum 500
        text "This is a much longer text bubble message, which will wrap."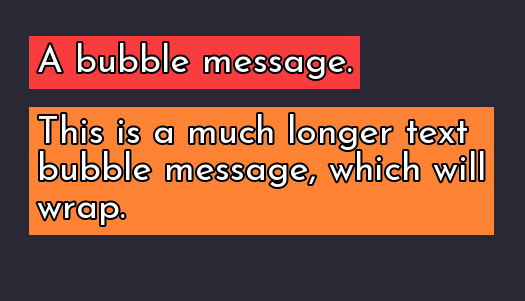
xmaximum 500 will cause the text to start wrapping if it becomes longer than 500 pixels wide on one line. Since the frame was not given a more specific size – recall that by default all size properties are None, so the frame doesn’t have a minimum or a set size, just an xmaximum – it will shrink to fit the text as best it can.
Summary
- All size properties start as
None, so the element typically is only as big as it needs to be to display on the screen properly. - Integers are exact pixel sizes, and floats are percent sizes relative to the element’s container
- xysize/xsize/ysize will set the size of the element to exactly the provided value. It’s the same as setting
minimumandmaximumto the same value. - minimum/xminimum/yminimum will set the minimum size of the element to the provided value, but provides no restrictions on how large the element can get in a particular direction
- maximum/xmaximum/ymaximum will set the maximum size the element can grow to be in a particular direction, but provides no restrictions on how small the element is
Next Steps
To keep any one tutorial from being too large, I’m splitting up explanations of the various size properties into multiple tutorials. This is the first part. In the next part, we’ll look at fill, fit, size_group, and area. Find it here: Ren’Py Size Properties – fill, fit, size_group, and area.
You might also consider checking out my latest tool on itch.io, an Extended Music Room for Ren’Py!