
You’ve already learned about fixed, vbox, and hbox in Ren’Py Screen Language Basics – Basic Containers. One more crucial container you’ll often use when constructing UI is the frame container. But what is a frame in Ren’Py, and how do you use it?
This tutorial is suitable for people new to Ren’Py screen language. You should start with Getting Started with Ren’Py Screen Language and read up to Ren’Py Screen Language Basics – Basic Containers at minimum to have a better basis for the concepts covered in this tutorial.
Vocabulary
As per usual, a quick vocabulary recap is in order:
Element – thing you’re displaying on a screen. Can be an image, text, a button, anything that goes in a screen.
Container – thing that organizes elements in some way. Usually contains multiple elements to organize them somehow.
Children – The elements inside containers are also referred to as the container’s children.
Overview of frames
A frame is a special sort of container that actually acts as a “decorator for containers” in a manner of speaking. While containers like fixed, vbox, and hbox organize their elements in some fashion but don’t have many other properties aside from size and position properties, frame has several of its own, most notably background and padding. It acts like a decoration which you can put other container types inside, like fixed/vbox/hbox.
has
To explain what makes frames unique, I will explain the concept of has, and how frames work. Frames have only one child, as opposed to fixed, hbox, and vbox seen earlier which take multiple children and organize them. Since a frame is more of a decoration than a container itself, it uses one of the existing container types as its child instead, so the child can do the organizing. This saves repeat code in the backend, and means that frame can be used to decorate lots of things. All elements added to the frame get passed along to its child for organization.
By default, a frame has a fixed as its child, and any children you put inside the frame are automatically added to the fixed child instead (so you can still add multiple elements to a frame, and it mostly acts as though it were a fixed with a background).
Now, for most purposes, this is as much knowledge as you need to work with frames. But for those of you looking for a bit more advanced knowledge, we will look at the has statement.
Understanding the has statement
As mentioned, the default child of a frame is a fixed. You can think of it kind of like:
frame:
    # Frame properties, like background and padding
    fixed:
        # All the frame's children go in here
has tells certain containers like frame what kind of child they have. Again, by default, it is a fixed, but you might change it to one of the following:
- fixed
- vbox
- hbox
- side
- grid
To do so, inside your frame you will write has vbox where vbox is the container type you’d like frame to use.
# has vbox example
frame:
    has vbox
    text "Hello"
    text "World!"
For the above example, has vbox means the child of the frame is now a vbox, and thus, any elements that are inside the frame will be organized as if they were inside a vbox. This is almost the same as just a regular vbox, except it’s also got a background and some padding provided by the frame.
vbox:
    text "Hello"
    text "World!"
Now that you know frame by default contains a fixed, internally something like the following code:
frame:
    vbox:
        text "Hello"
        text "World!"
is actually:
frame:
    has fixed
    vbox:
        text "Hello"
        text "World!"
Since you don’t need the fixed in there, using has vbox like in the # has vbox example earlier to turn the contents of the frame into a vbox is cleaner. It also avoids one extra level of indentation, which is a bonus in my opinion!
Note that you can still apply properties to the frame’s child as if it were a separate screen element. For example:
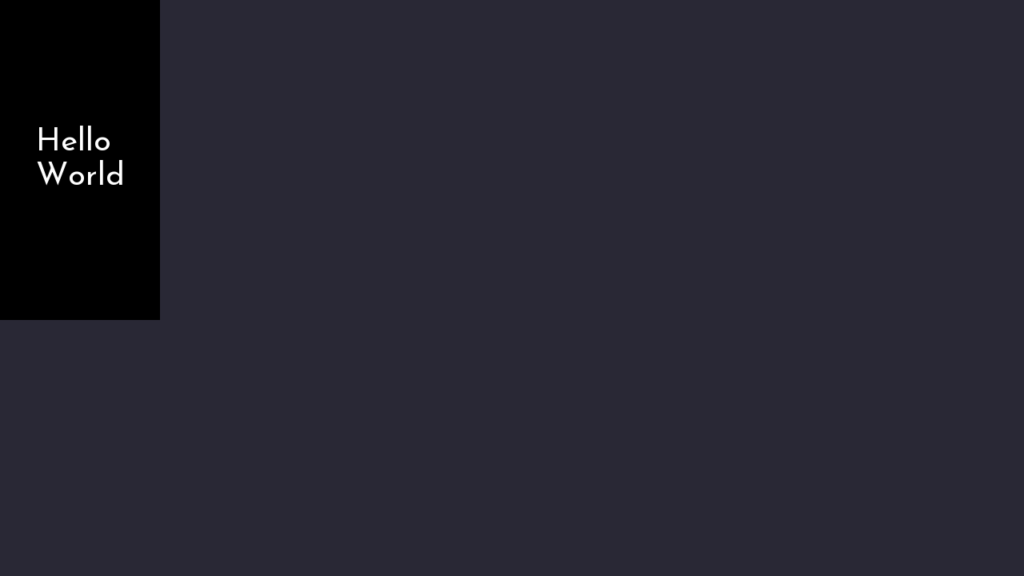
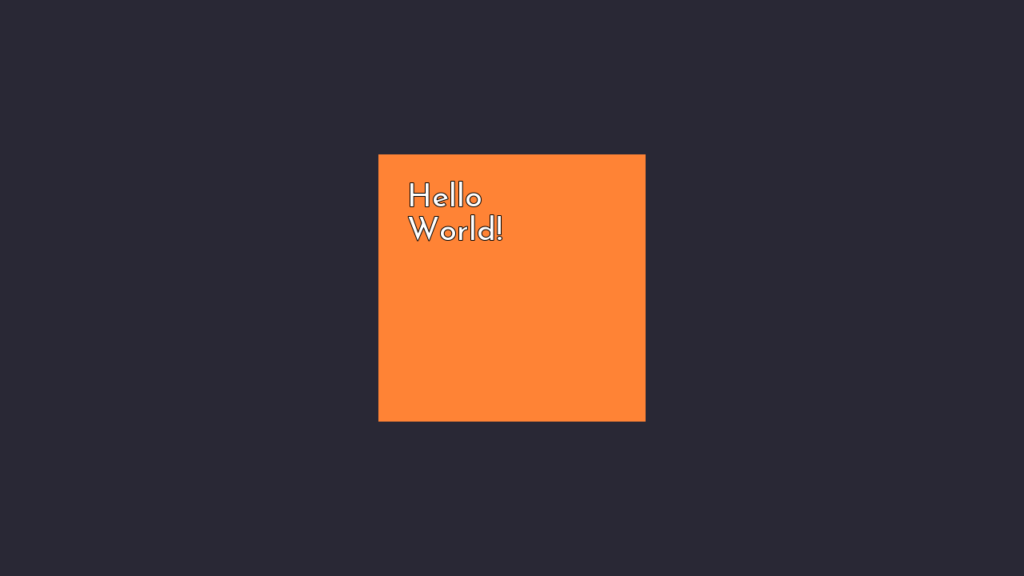
frame:
    background "#000000"
    xysize (300, 600)

    has vbox
    align (0.5, 0.5)

    text "Hello"
    text "World"
In this example, the properties background and xysize belong to the frame. They give it a black background (hex colour code #000000 – see below for more information on backgrounds in a section later) and a size of 300×600.
The vbox child of the frame, on the other hand, gets the property align (0.5, 0.5), which will cause the vbox to be perfectly centered inside the available space of the frame.
If you want to provide more properties to the frame, they have to go above the has statement. Anything below the has statement is a property applied to the child of the frame (in this case, the vbox).
You can also use this to provide properties for the default fixed child. For example:

frame:
    background "#ffffff"
    align (0.5, 0.5)
    has fixed
    fit_first True
    add "feniks.png"
    text "Hello, World!" align (0.5, 0.5)
Occasionally you might want to use properties like fit_first for the implicit fixed that is part of the frame; see: Ren’Py Size Properties – fill, fit, size_group, and area.
Frame vs Window
What’s the difference between frame and window? For all intents and purposes inside the Ren’Py documentation, it sounds like they’re basically identical.
Surprise – they are! They are genuinely identical in how they are handled internally. In fact, somewhat confusingly, while there is a Frame Python function to create a displayable, it has nothing to do with the frame container used in screens. (The Python equivalent of frame is actually Window, because as mentioned, frame and window are the same thing.)
So why would you use one over the other? Well, here’s the important difference – Ren’Py applies a whole lot of styling to any window containers. The default styles for a window come directly from all the styling for the dialogue window, aka the thing that shows dialogue to the player in-game.
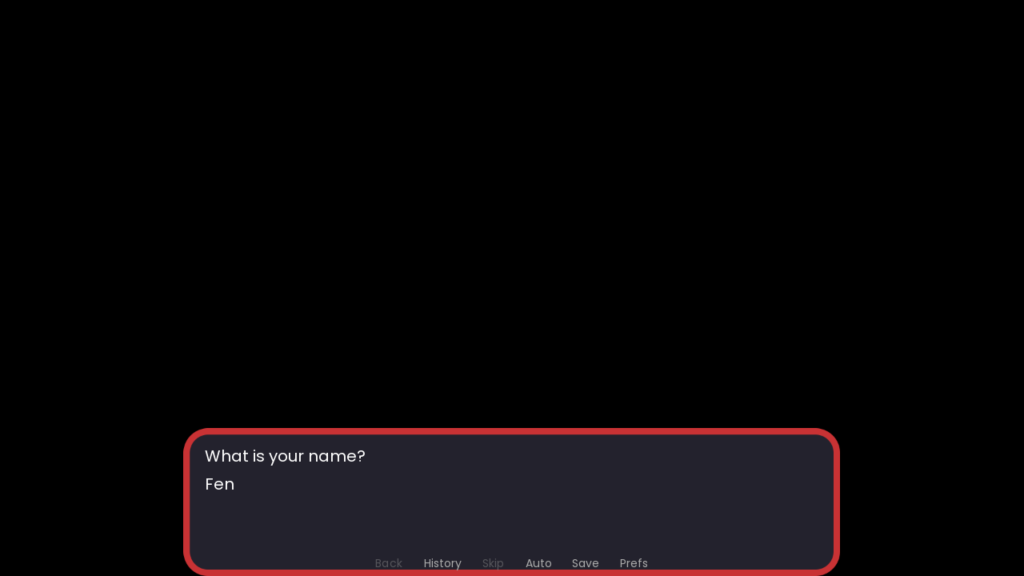
This means window is really only suitable for 1) dialogue windows and 2) places where you want to replicate the style of the dialogue window (such as the default implementation of the input screen, which looks like the dialogue window, as seen above). Otherwise, you’ll be fighting against the default window styles, and why do that when frame is right there without the extra baggage?
In short: if you want a container with a background, you should be using frame everywhere except for the dialogue window, which can use window.
Screen Language Properties for Frames
There are two main property “groups” that are unique to frames, and by extension buttons (and their cousins textbutton, window, and label). For the purposes of this tutorial, I’m going to be using frames to talk about these containers generally, and we’ll be looking specifically at properties used by frame. The only difference between frame and button when it comes to these properties is that button has a few extra backgrounds based on whether the button is hovered, sensitive, selected, etc. We’ll be covering buttons properly in another tutorial!
Background and Foreground
The defining feature of frames is that they have a background property (which can be None so the background is invisible). They can optionally take a foreground as well. The background will display behind all of the frame’s children, and the foreground will display in front of all the frame’s children.
By default, frames use gui/frame.png as their background. You can replace this image in the gui/ folder, or manually declare the background any given frame will use.
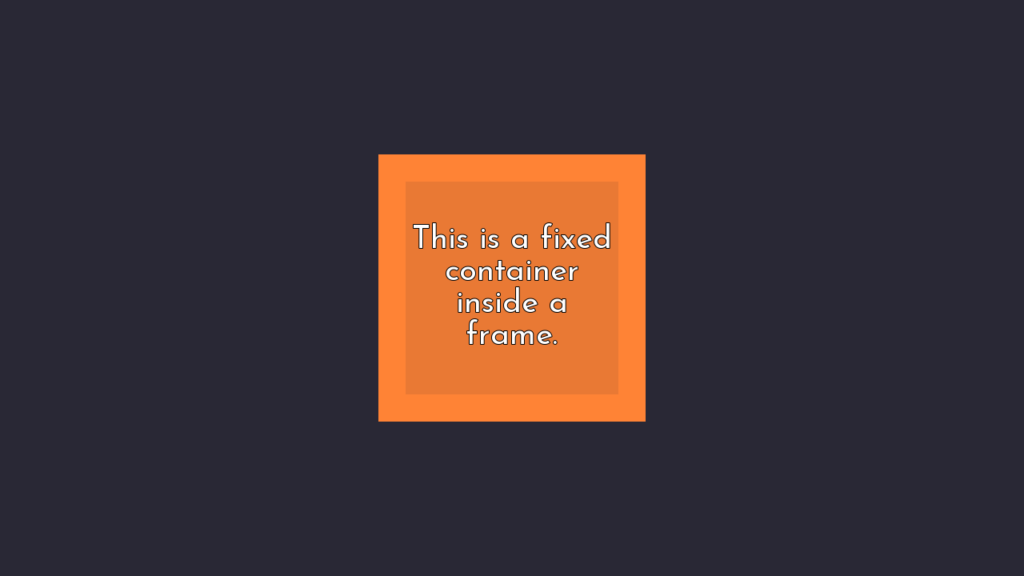
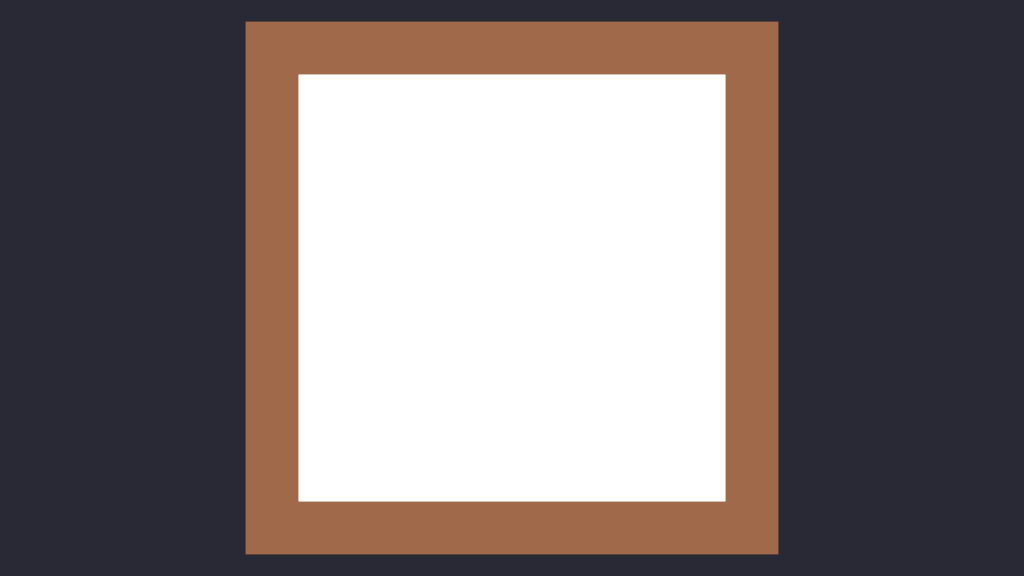
Importantly: the size of a frame’s background does not affect the size of the frame element itself. This is in contrast to something like an imagebutton, where the size of the idle image becomes the size of the imagebutton unless you explicitly provide an xysize for it. Thus you can end up with slightly confusing scenarios, such as where your background is 200×200 pixels large, but your frame is only 120×50 to accommodate the contents of the frame, or it’s 300×250 because the contents take up more space than the frame’s background.
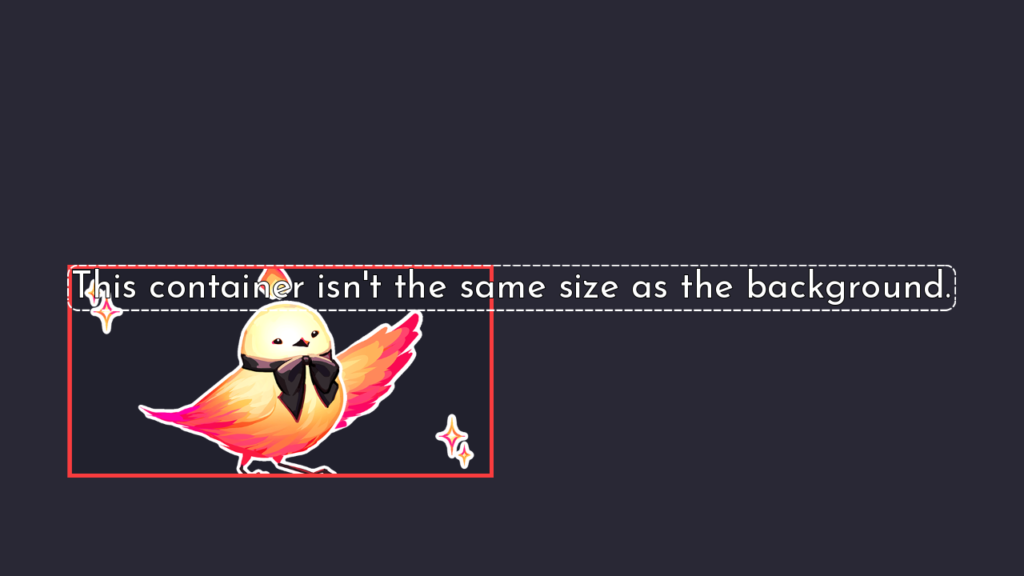
In the image above, the white dotted line is the foreground, and it represents the actual size of the container, compared to the background image. If the frame isn’t given a size, then its contents will inform how big it is – in this case, the size of the text is the size of the container. You can read more about the various size properties in Ren’Py Size Properties – xysize, maximum, and minimum.
Most commonly a frame’s background is resizable – that is, it resizes itself based on the size of the frame’s contents. The most common way to do this is to use the Frame displayable, which will be covered in detail in an upcoming tutorial.
Alternatively, you can also provide a colour as the background for a frame. I used this method in the earlier examples going over the has functionality. A colour can be provided in many different formats through Ren’Py’s Color class, but the easiest is to provide a hexadecimal code (or hex code for short) as a string. That looks like this:
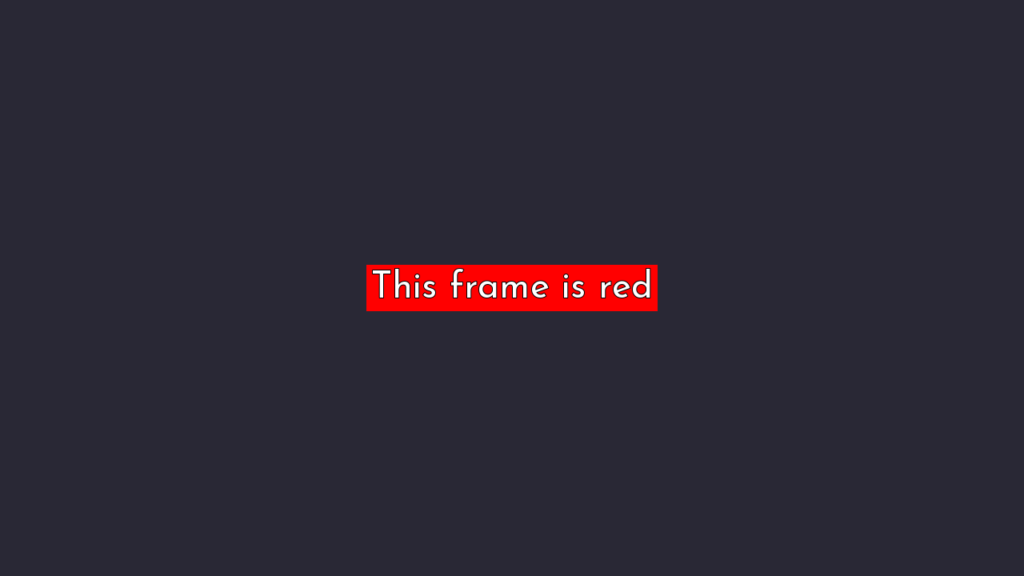
frame:
    background "#f00" align (0.5, 0.5)
    text "This frame is red"
Hex colour codes can be 3-digit (rgb, red/green/blue), 4-digit (rgba, red/green/blue/alpha), 6-digit (rrggbb), or 8-digit (rrggbbaa). Hexadecimal goes from 0-f, like 0, 1, 2, 3, 4, 5, 6, 7, 8, 9, a, b, c, d, e, f. So, #f00 is red because there is f red, aka 100% red, and then 0 green and 0 blue.
You don’t have to memorize this or anything; it’s perfectly fine to look up colour codes when you need them. I like to use the 3-digit hex codes for quick testing, especially if I need to immediately see how big a frame is. A colour code like #f0f (magenta), is extremely visible and likely to clash with anything on-screen, so it’s easy to pick out when making a screen. Other useful colours that are easy to remember are #fff (white) and #000 (black).
Using colour codes for a frame’s background will always result in the background being automatically resizable depending on how big the frame’s child is, which depends on its properties and on how much space the frame contents take up.
Padding
Frames also get padding, which allows you to make sure the contents inside the frame aren’t right up against the edges of the background. If you think of the frame like a picture frame, the padding is how wide the borders of the frame are – if you have a wooden picture frame that’s 10×10″, and the wooden part of the frame is 1 inch wide all around, then you will have an 8×8″ area where you can put a picture inside (since you subtract 1 inch for the left frame border and 1 inch for the right -> 10-1-1=8).
There are multiple ways of setting padding for a frame, each described below.
Individual padding properties
To adjust the padding from each of the four directions individually, you can use the following properties: left_padding, top_padding, right_padding, and bottom_padding.
left_padding refers to the width between the left edge of the frame and the leftmost edge of the frame’s contents. Similarly, bottom_padding is the height between the bottom edge of the frame and the bottom of the frame’s contents (so, if you think of it as a picture frame, the bottom_padding is the height of the bottommost horizontal piece of the outer frame).
Each of these padding properties takes an integer number representing the size, in pixels, of that particular border.
X and Y padding properties
If your frame is symmetrical, you can also use the xpadding and ypadding properties. xpadding sets left_padding and right_padding to the same value, and ypadding sets top_padding and bottom_padding to the same value.
The padding property
Finally, there’s just padding, which operates similarly to how anchor is the combination of xanchor and yanchor (see Ren’Py Position Properties – Pos and Anchor). If you provide padding with two numbers, these are used as the xpadding and ypadding values.
frame:
    padding (12, 8)
So, in the above code, the frame has an xpadding of 12 (so, 12 pixels of padding on the left and right) and a ypadding of 8 (8 pixels of padding on the top and bottom).
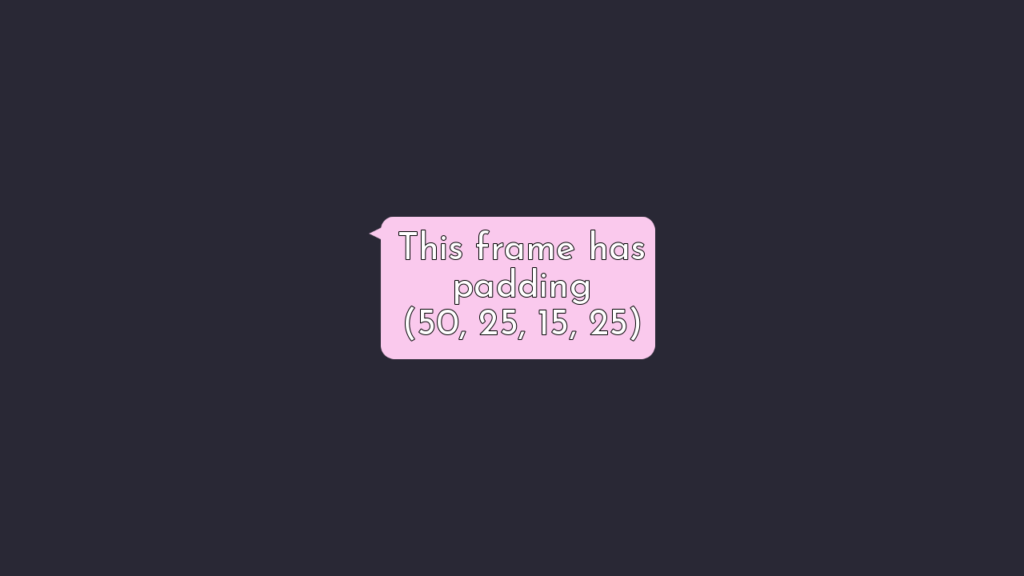
You can also provide 4 numbers to padding, in which case they are read as (left_padding, top_padding, right_padding, bottom_padding). So, it starts with the left padding, and then declares the other padding properties in clockwise order.

frame:
    padding (100, 25, 8, 25)
In the above example, the top and bottom padding of the frame is 25, the left padding is 100, and the right padding is 8. These kinds of values are sometimes used for things like checkboxes, where the background is a checkbox square, but the text should start significantly farther to the right so it’s not actually on top of the checkbox square but beside it. Having a large left_padding value means that the contents of the button start much farther to the right.
Modal
Finally, frames are unique in that they may take a modal property, which is otherwise only used as a property for a screen as a whole.
modal is False by default, but if it is set to True, then it means that any “mouse events” that occur within the bounds of the frame – like clicking or hovering – are only passed to the frame itself. More practically, this means that if there was something like a button behind the frame, clicking on the frame will not cause the button to act like it was clicked, because the modal True property on the frame means it “absorbs” the mouse click event.
frame:
    background "#00f"
    modal True
    text "Any buttons behind this frame can't be clicked."
This is often used screen-wide for things like popups – in particular, the confirm screen uses modal True so that when the player has to confirm something, like “Are you sure you want to quit?” they can’t accidentally activate some button behind the confirmation prompt.
Besides just True/False, modal may also take a callable argument for more fine-tuned management over when it should absorb input or not. This is advanced usage that’s unnecessary for the vast majority of use cases, but for more, you can read about it here: https://www.renpy.org/doc/html/style_properties.html#style-property-modal
size_group
frame can also take the size_group property, which is covered in more detail in the tutorial Ren’Py Size Properties – fill, fit, size_group, and area
Summary
- Frames (and buttons, labels, textbuttons) are a special type of container that comes with a background.
- They can organize their children in multiple ways by using the
hasstatement. - All frames can have a
backgroundandforegroundproperty,paddingproperties, and themodalproperty to specify how it should look and behave. It also uniquely gets access tosize_groupas covered in Ren’Py Size Properties – fill, fit, size_group, and area
Next Steps
In the next tutorial in this series, we’ll take a look at the special Frame displayable, and how you can use it to make resizeable backgrounds for frame and other containers. Find that tutorial here: How to make resizeable backgrounds in Ren’Py with Frame. Follow me on itch.io to be notified of new tool releases as well!

Thank you fire bird!!
This whole post alone, helped me deal with an issue I had with health bars for an RPG fight.
It needed to be 3 different layers to look like I wanted, but that was impossible to do with vbox. Thus I had to use frames for the first time and was kind of struggling…
Again, thank you so much for writing all of it down! I spent and entire afternoon trying to find a solution and the rest of the internet wasn’t very helpful.