Have you ever wanted to resize images in Ren’Py while maintaining the aspect ratio? Luckily, there is a built-in property to help you do that, called fit. In this article, we’ll go over how to use fit and how different fit values work.
If you haven’t already, you should be sure to read up on Ren’Py Size Properties – xysize, maximum, and minimum at minimum, and I recommend reading the follow-up Ren’Py Size Properties – fill, fit, size_group, and area as well.
While xfit and yfit are used for fixed containers, there is a special fit property which can be used with Transform or as part of ATL. Since ATL deals with displayables, not “elements”, I’ll be using “displayable” to refer to the thing you’re applying fit to.
fit causes the displayable to be sized in a particular way, typically preserving its original dimensions in some form. It is used in combination with xsize and ysize.
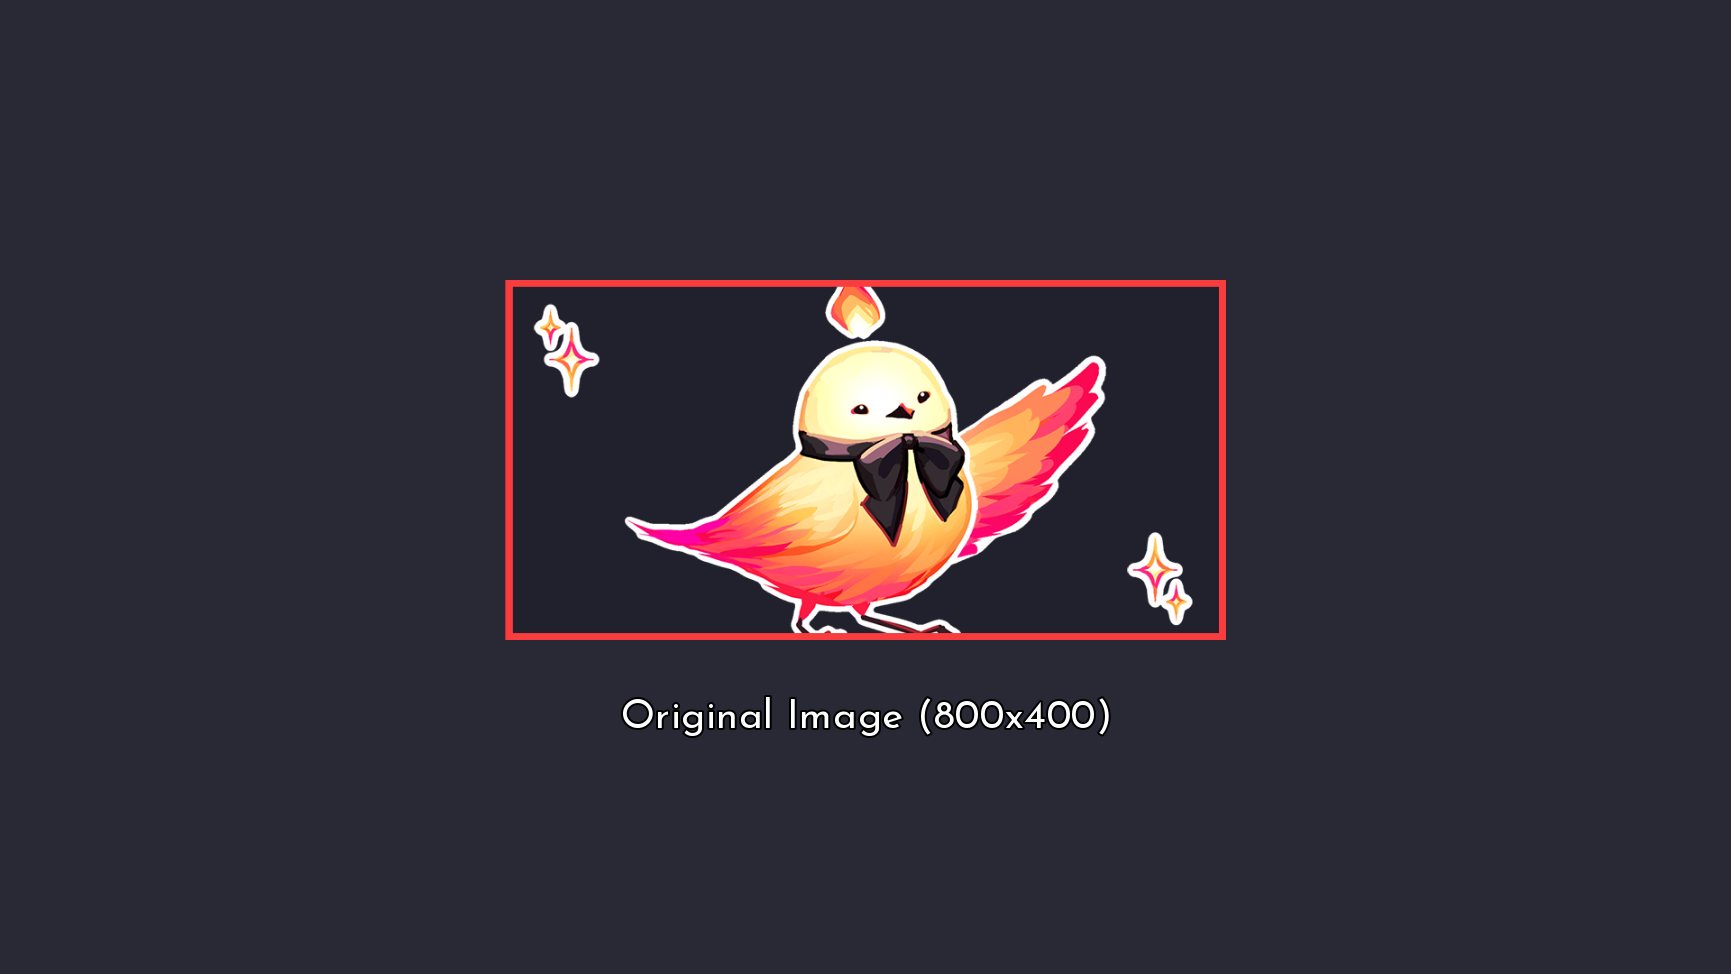
By default, fit begins as None. It can be one of several values, which I’ll explain in turn. For each of these examples, we will discuss an 800x400 pixel displayable called “feniks.png” which will have the fit property applied in various ways.
“contain”
If you use fit "contain", the displayable will try to be as large as possible without exceeding any provided dimensions (provided via xsize and/or ysize). It maintains the original aspect ratio of the displayable.
So, for our 800x400 pixel “feniks.png” displayable, if we applied the fit property with "contain", here’s what would happen:

add "feniks.png":
    fit "contain"
    xsize 400
Result: the width can be at most 400px, aka half the original width, so the height is scaled down to match. The resulting displayable is 400×200.
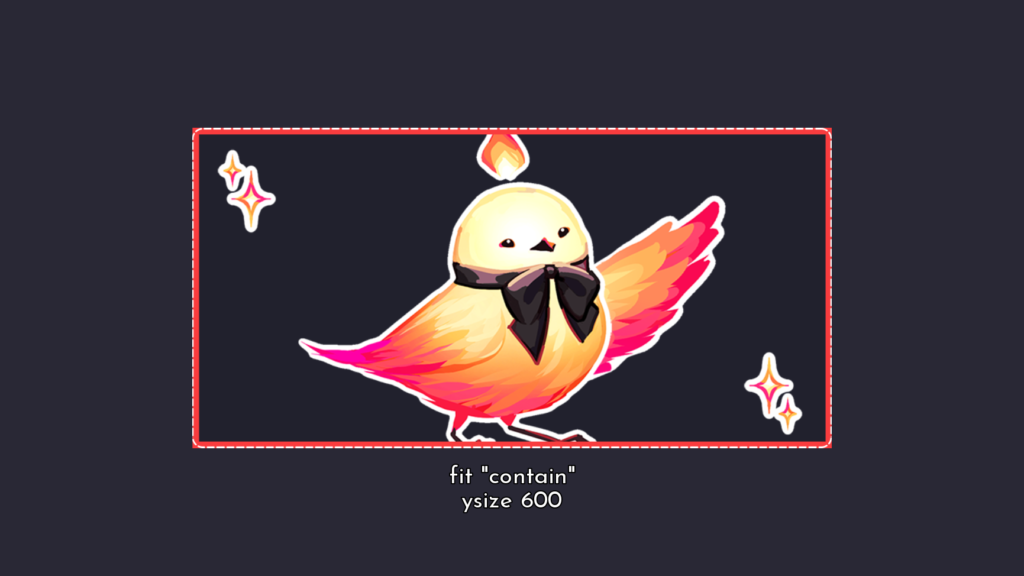
add "feniks.png":
    fit "contain"
    ysize 600
Result: The height can be at most 600px, aka 1.5x the current height. The width is scaled up to match. The resulting displayable is 1200×600.
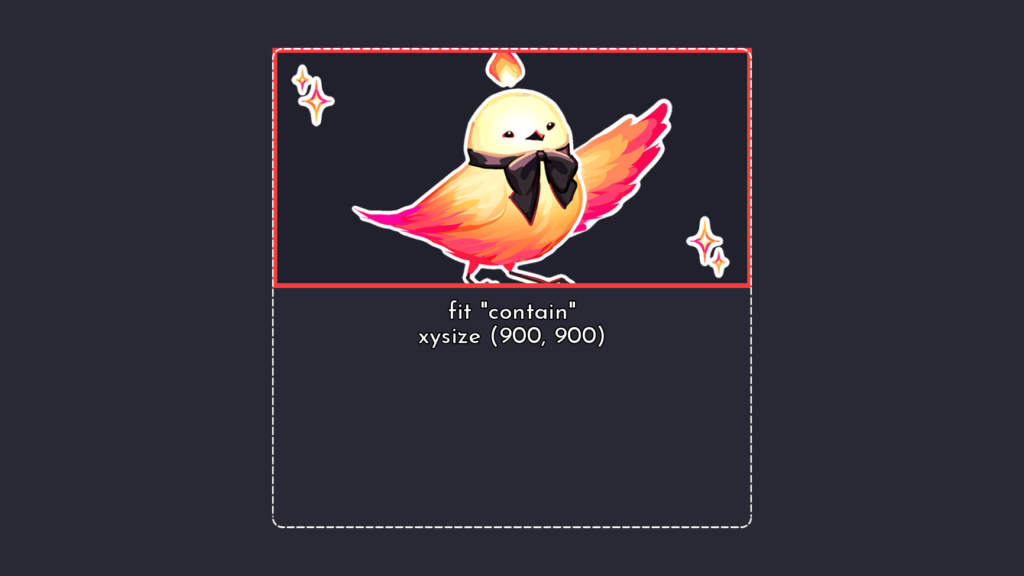
add "feniks.png":
    fit "contain"
    xysize (900, 900)
Result: the displayable can be at most 900px in either dimension. The displayable is wider than it is tall, so the width will be 900px. The height will then be 450px to maintain the aspect ratio. The resulting displayable is 900×450.
“cover”
If you use fit "cover", the displayable will try to be as small as possible, while matching or exceeding any provided dimensions. It maintains the original aspect ratio.
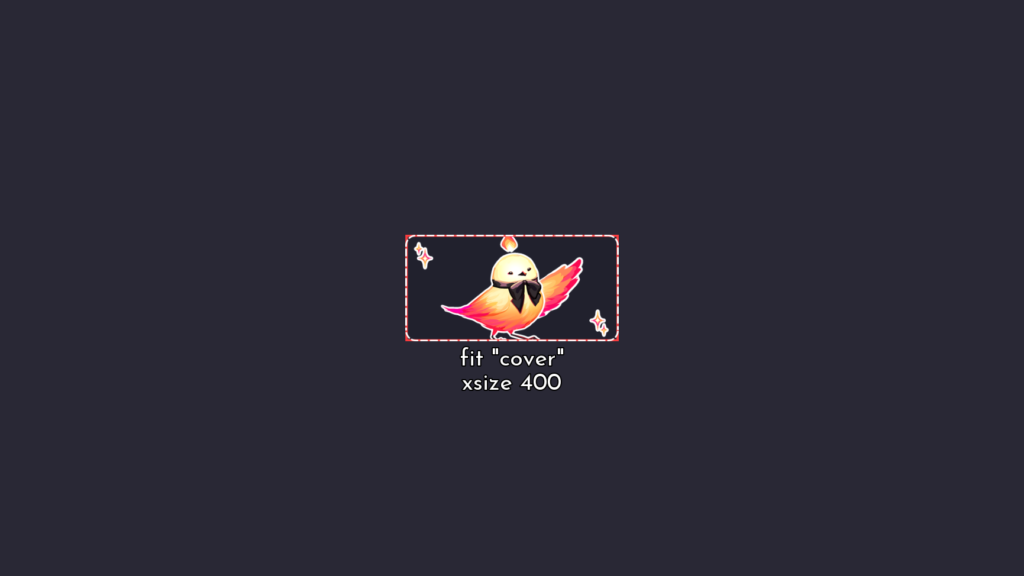
add "feniks.png":
    fit "cover"
    xsize 400
Result: The width is at minimum 400px. To maintain the aspect ratio, the height is set to 800px. The resulting displayable is 400×800 (same as with “contain”).

add "feniks.png":
    fit "cover"
    ysize 600
Result: The height is at minimum 600px. To maintain the aspect ratio, the width is set to 1200. The resulting displayable is 1200×600 (again, same as “contain”).

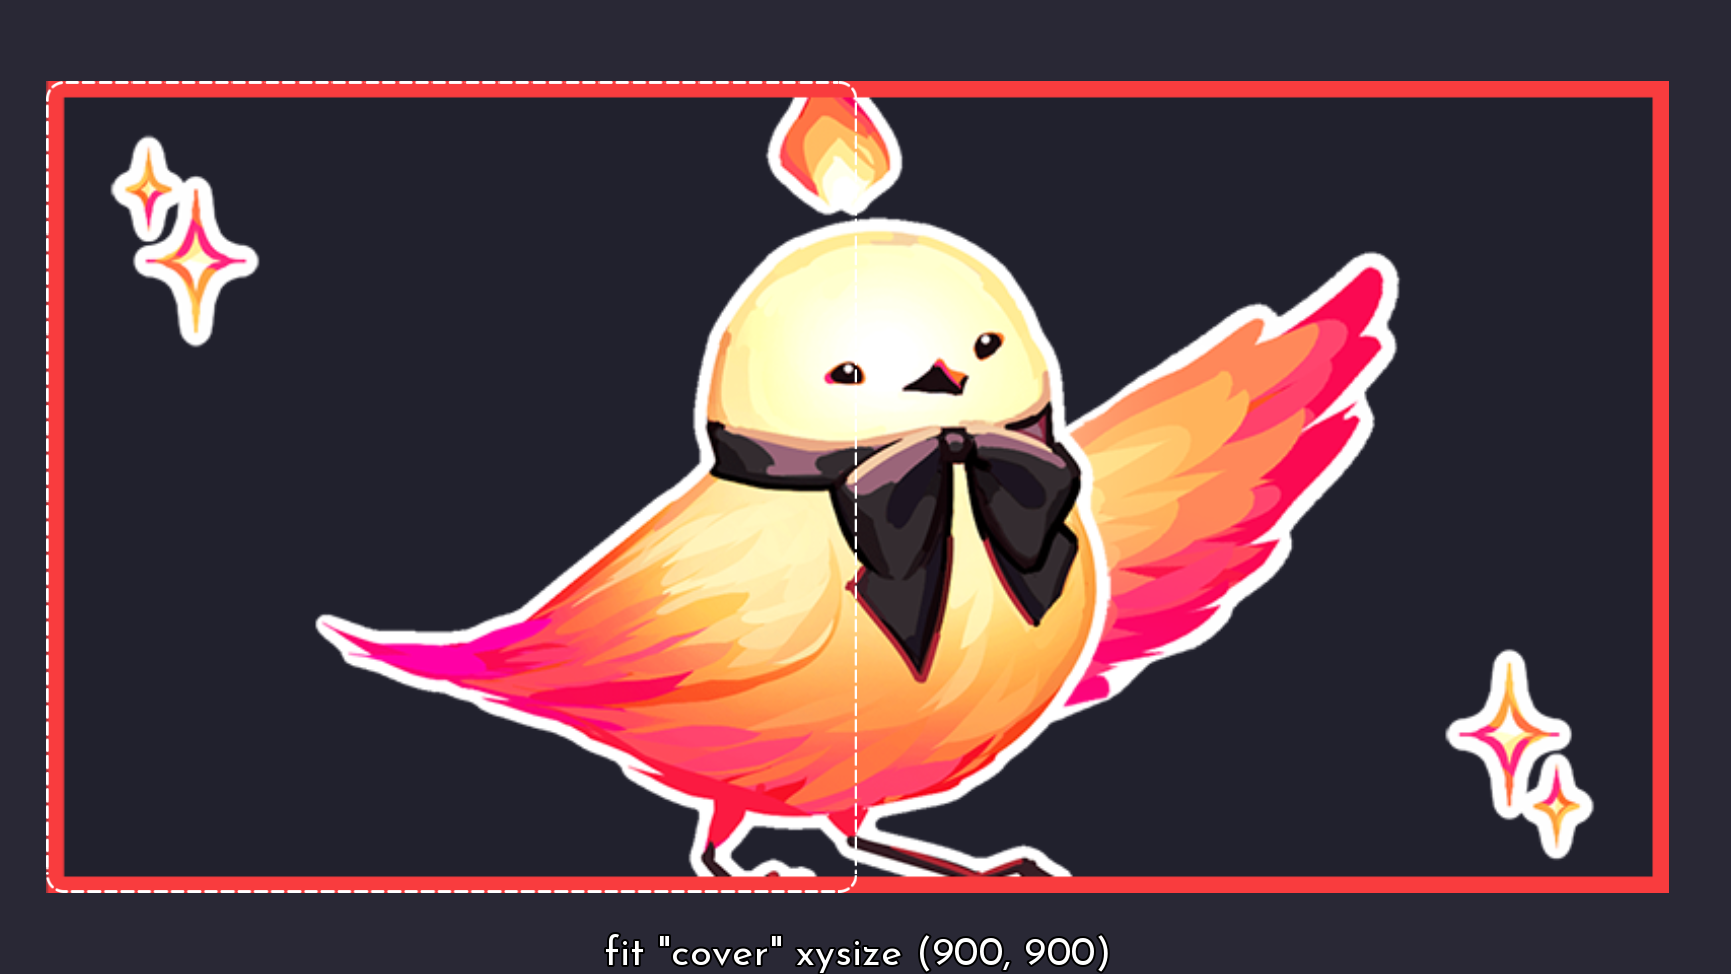
add "feniks.png":
    fit "cover"
    xysize (900, 900)
This is where contain and cover differ. The minimum dimension we have is 900. Since “cover” will exceed or match the provided dimensions, we take the smallest dimension – the height – and set that as the baseline. So the height will be 900px, and thus the width will be 1800px to match. This results in a displayable that is 1800×900.
“fill” or None
If you have fit None or fit "fill", then the xysize are taken as exact dimensions which should squash/stretch the displayable to match. It does NOT maintain the original aspect ratio. This is the default behaviour. So:
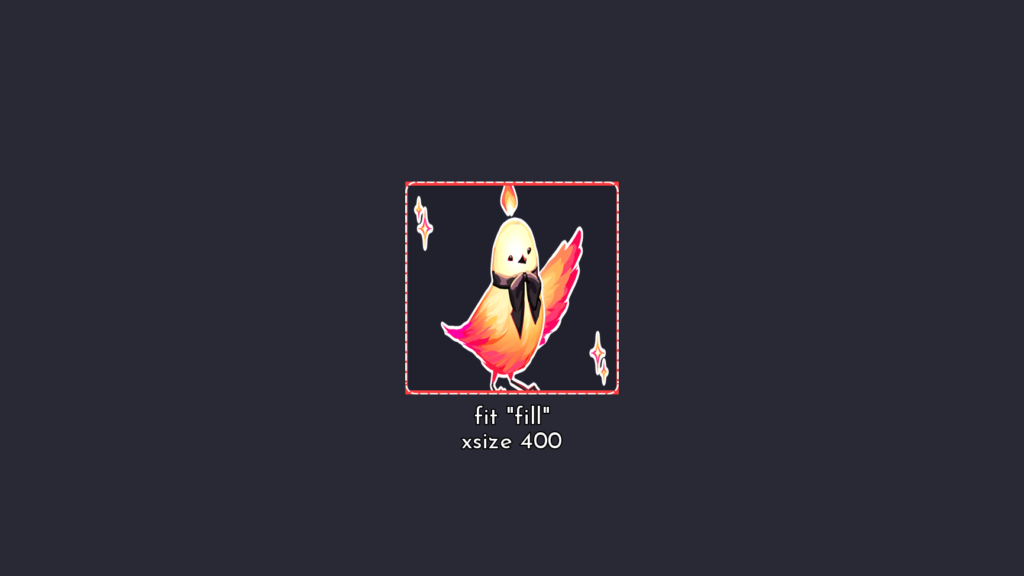
add "feniks.png":
    fit "fill"
    xsize 400
Result: The xsize is set to 400. The height remains 400px. The resulting displayable is 400×400 (making it squished narrower than the original).
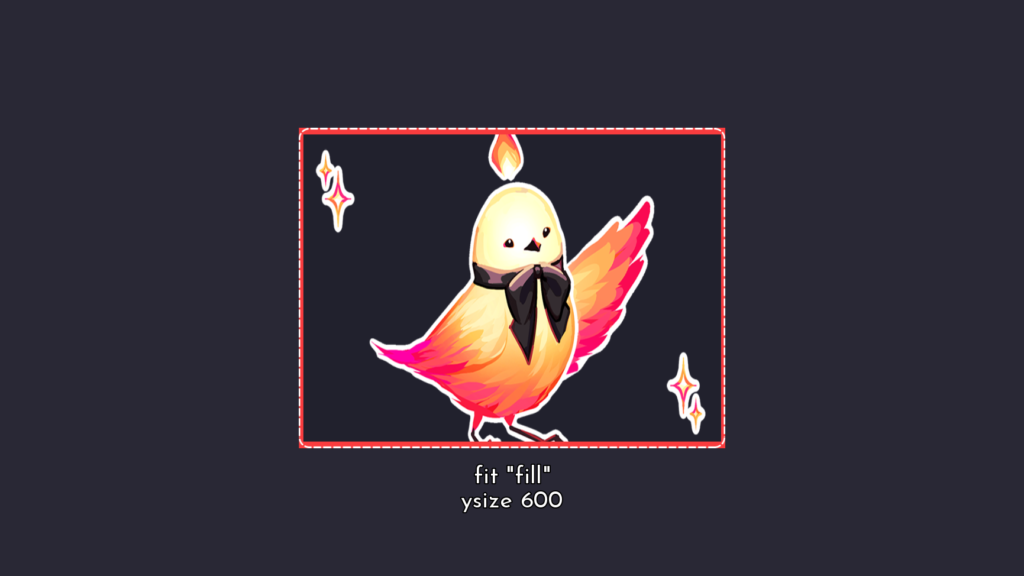
add "feniks.png":
    fit "fill"
    ysize 600
Result: The ysize is set to 600. The width remains 800px. The resulting displayable is 800×600 (making it stretched taller than the original).
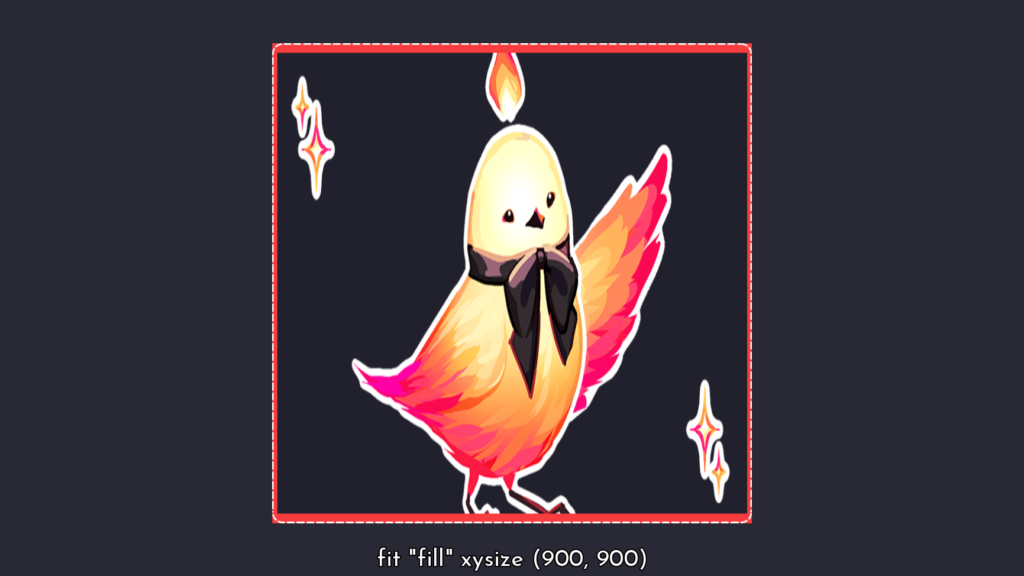
add "feniks.png":
    fit "fill"
    xysize (900, 900)
Result: The width and height are set to 900px. The resulting displayable is 900×900, making it slightly wider and over twice as tall.
“scale-down”
“scale-down” is nearly the same as “contain”, but it will never increase the size of the displayable. So, for our example displayable, the width will never be more than 800px, and the height will never be more than 400px.
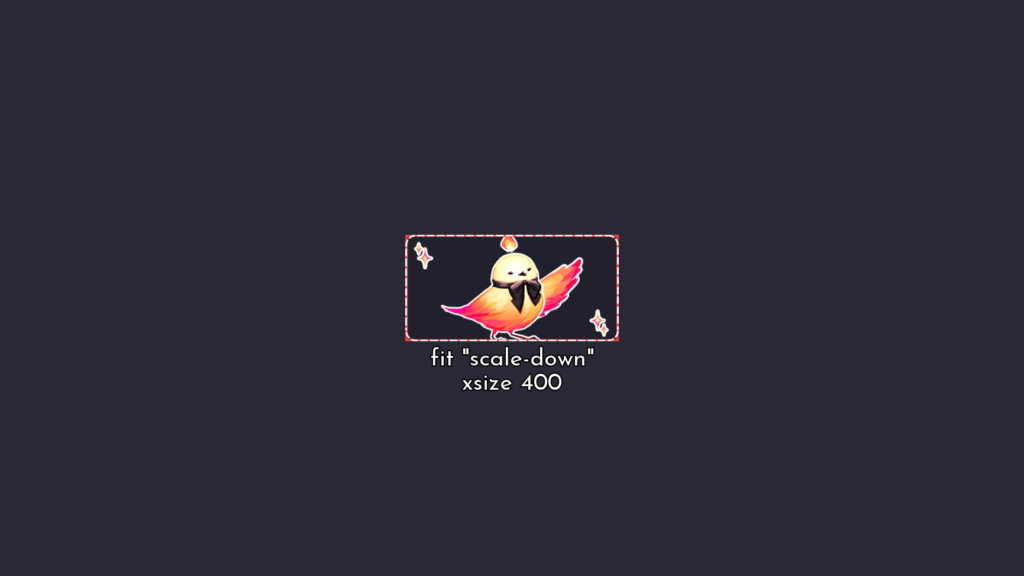
add "feniks.png":
    fit "scale-down"
    xsize 400
Result: The width is smaller than 400px, so it is selected and the height scaled to match the aspect ratio. The resulting displayable is 800×400 (same as “contain”).
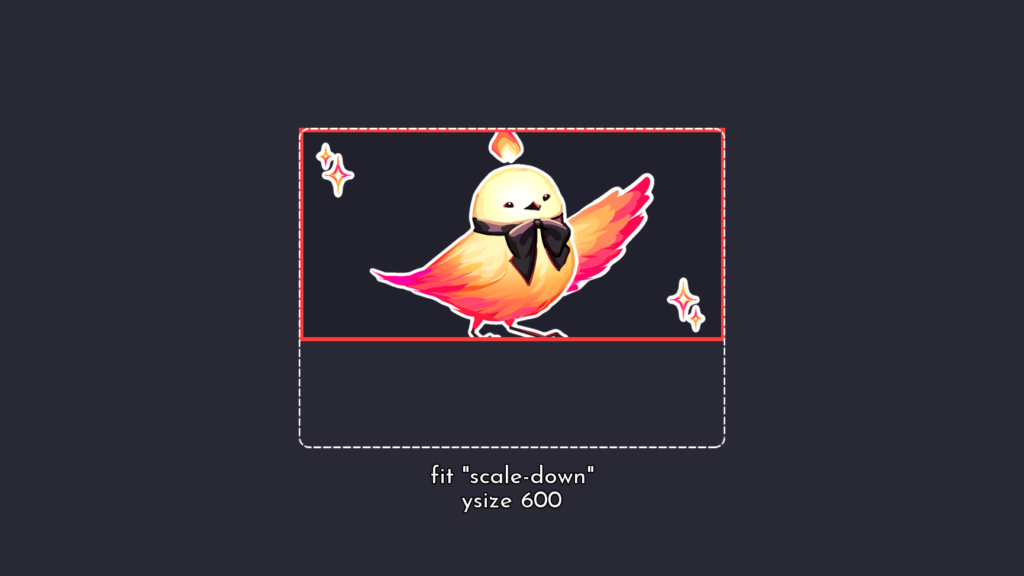
add "feniks.png":
    fit "scale-down"
    ysize 600
Result: The provided height of 600px is larger than 400px. The displayable can’t exceed 800×400, so it remains 800×400.
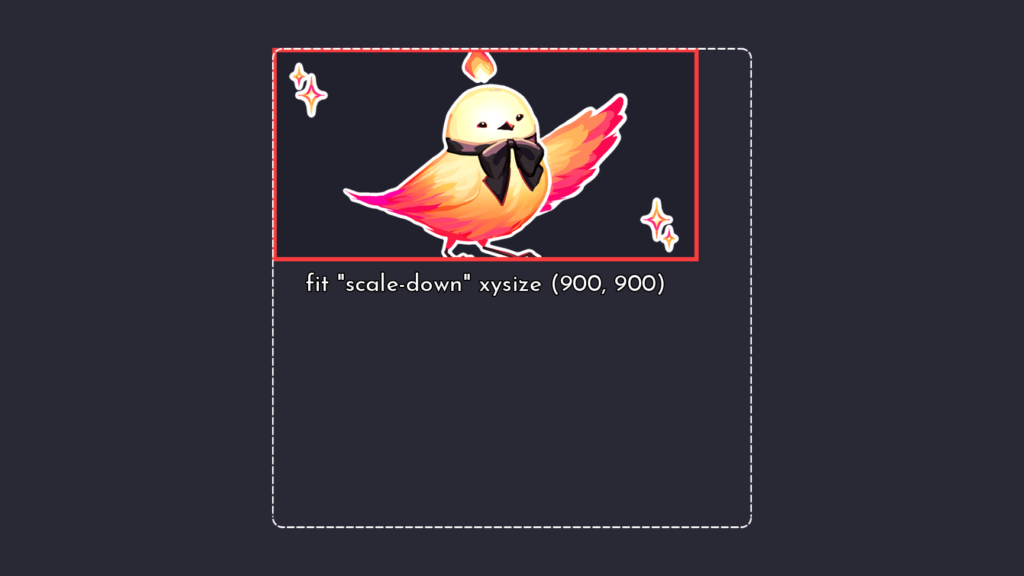
add "feniks.png":
    fit "scale-down"
    xysize (900, 900)
Result: The width can’t exceed 800 and the height can’t exceed 400, so the resulting displayable remains 800×400.
“scale-up”
“scale-up” is nearly the same as “cover”, but it will never decrease the size of the displayable. So, for our example displayable the width will never be less than 800px, and the height will never be less than 400px.
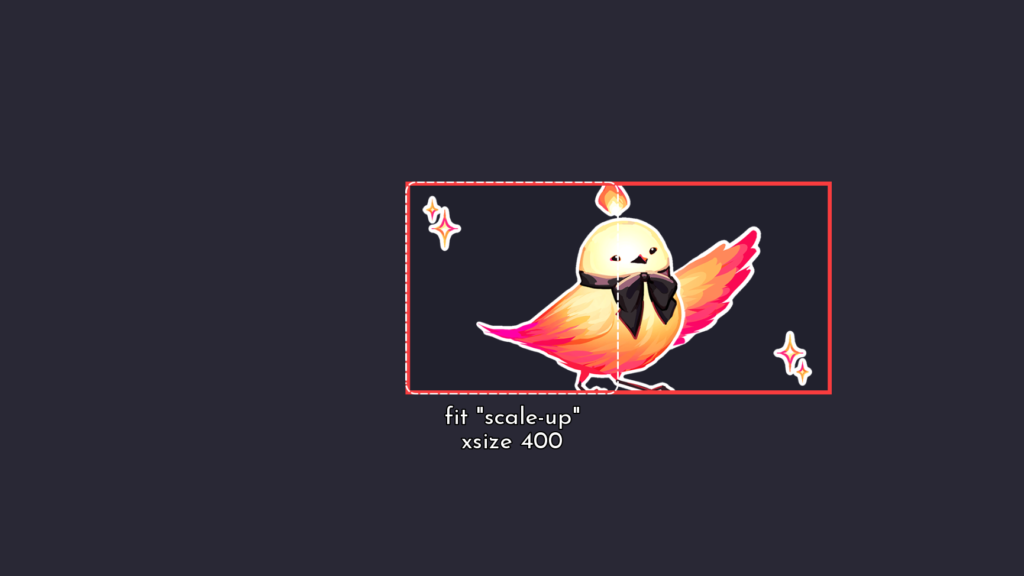
add "feniks.png":
    fit "scale-up"
    xsize 400
Result: The width is smaller than 800px, but the displayable can’t get any smaller. The resulting displayable is 800×400.

add "feniks.png":
    fit "scale-up"
    ysize 600
Result: The height is larger than 400px. The height is set to 600 and the width scaled to match. The resulting displayable is 1200×600 (same as “cover”).

add "feniks.png":
    fit "scale-up"
    xysize (900, 900)
Result: The height is selected as the largest dimension and the width scaled to match. The resulting displayable is 1800×900 (same as “cover”).
Summary
| Value | Description |
|---|---|
| “contain” | As large as possible, without exceeding any dimensions. Maintains aspect ratio. |
| “cover” | As small as possible, without exceeding any dimensions. Maintains aspect ratio. |
None or “fill” | Exactly the size of the provided dimensions. Does not maintain aspect ratio. |
| “scale-down” | As large as possible, while not exceeding any dimensions including the original dimensions of the displayable. Maintains aspect ratio. |
| “scale-up” | As small as possible, while not being smaller than the original displayable. Maintains aspect ratio. |
The ATL fit property is incredibly powerful for sizing and scaling displayables without losing their original dimensions. For example, maybe your character sprites are all slightly different sizes, and you want to be able to display them in a Character Bio screen. You can use fit "contain" with xysize to ensure all sprites fit inside the area designated to display their character sprites without worrying about what exact size they need to be scaled down to.
Next Steps
The next tutorial in this series will be on incompatible size and position properties from the last several tutorials so you can tell them apart, and then after that we will begin to look at other containers like frame.
You can also check out my recent tool releases on itch.io, which add Gradients and Circular Bars to Ren’Py!
And lastly, I also put out an article format of my recent talk at Visual;Conference. You can find it here: Character Customization 101 Talk