

It’s time to start looking at the building blocks of screen language. I will be covering these very briefly in favour of having more detailed examples later down the line, but it’s good to have a more objective explanation of the different parts that make up screen language first.
If you haven’t already, take a look at Ren’Py Screen Language Basics – Declaring and Showing a Screen to see how to quickly set up a screen to test out this code in.
In this tutorial, I will occasionally use “element” to refer to anything you’re displaying on a screen. It can be an image, text, a button – anything that goes in a screen. In this tutorial, we will look at adding images and text to a screen.
This tutorial series does not expect any prior knowledge of Ren’Py screen language or coding. I recommend you start with Getting Started with Ren’Py Screen Language if you haven’t yet read it.
Images
To add images to screens, all you have to do is use the add keyword and then the name of the image in quotation marks (as a string).
screen test_screen():
    add "gui/window_icon.png"
Note that you can use Ren’Py’s automatic image naming for images in the images/ folder to add images as well, or list off several attributes of a layered image the way you would display it in a label. Regardless of which one you use, however, it always has to be in quotations to denote it as a string.
image bg restaurant = "Backgrounds/restaurant_daytime.jpg"
screen test_screen():
    add "bg restaurant"
    add "feniks right1 happy sparkle"
Images may also use variable interpolation (substitution) in their path names, provided all values of that variable lead to a valid image e.g.
default time_of_day = "sunset"
screen test_screen():
    add "feniks closed right2 [time_of_day]"
This will resolve to "feniks closed right2 sunset" if the value of time_of_day is “sunset” as shown above.
Note: Sometimes in tutorials you will see people use image to add images to screens instead of add, e.g. image "xia happy dress". This has been phased out and replaced by add, in order to prevent confusion between it and how you declare images. You should always use add in preference to image when adding images to a screen.
Text
To add text to screens, use the keyword text and then the text you’d like to display in quotations (aka a string, like you would for dialogue). The text can include interpolated variables the same way that dialogue does, in square brackets [].
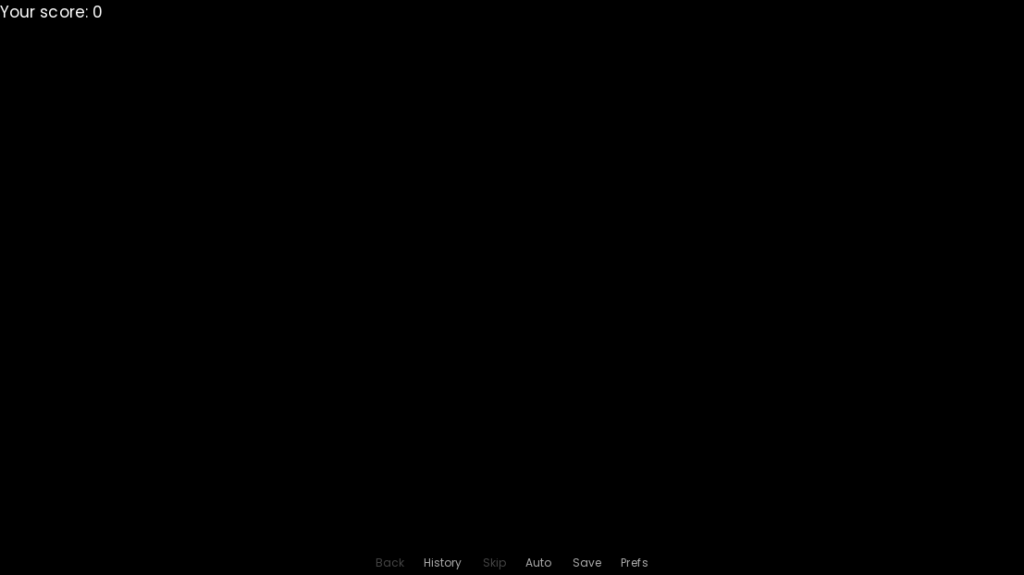
default score = 0
screen test_screen():
    text "Your score: [score]"
Properties
Properties are information about a particular screen element that tells it how to look or how to behave. Every screen element has what are called size and position properties, which has information on how large or small the element is (its size) and where it is on the screen (its position).
Then there are properties which are unique to certain screen elements. For example, text has font and italic properties which, as you might expect, dictate the font the text uses and whether it’s written in italics or not. Other examples include: buttons have an action property which says what should happen when the button is pressed, and an input element (that the player can type into) has a length property to dictate the maximum length the inputted text can be.
In general, when adding properties to an element or as part of a style, you will simply write the name of the property (e.g. font), then a space, and then the value of the property (e.g. "ComicSans.ttf"). Properties always come in <property name> <value> pairs (e.g. font "ComicSans.ttf"), and you can’t split up a property’s value onto a separate line from the property name.
To add properties to any screen element, just list out the properties and their corresponding values after the element itself:
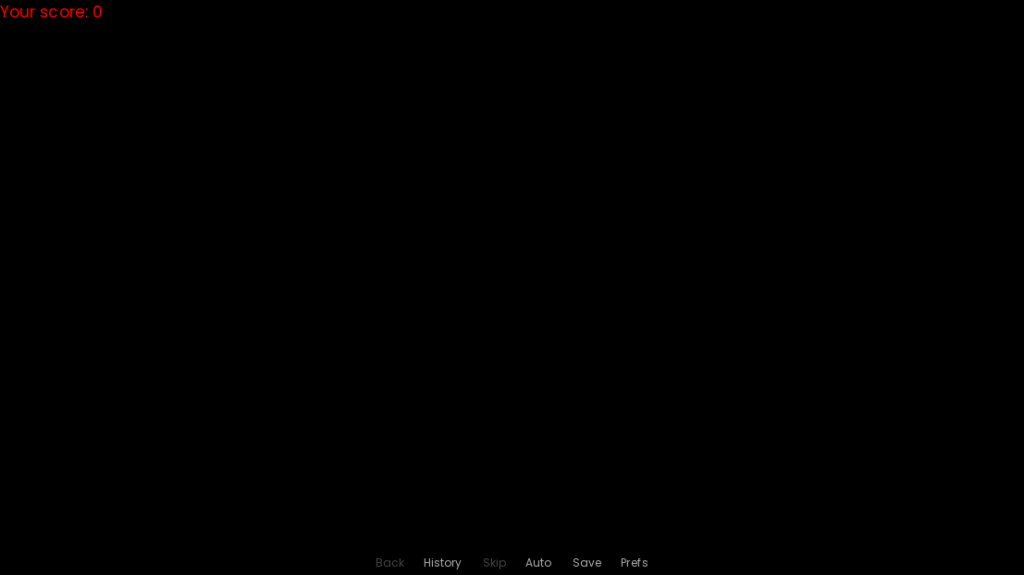
screen test_screen():
    text "Your score: [score]" color "#f00"
The above example adds the property color to the text element. It causes the whole text to be the provided colour, “#f00”, which is red.
Organizing Properties
Conventionally, it’s recommended that you keep lines of code under 80 characters long so they are easy to read at a glance. Particularly because spacing is so important to Python, it’s best if you can keep each line short enough so it doesn’t require line-wrapping or horizontal scrolling to read it. You can read more about these guidelines, called PEP8, here.
While screen language generally does allow you to write all the properties of a screen element out on the same line, this becomes unreadable extremely quickly as the line gets longer and longer. Luckily, you can solve this by creating a block with a colon and then listing out the element’s properties inside that block. For example (note that you don’t have to worry about what all the listed properties do; they’re just there for demonstration):
screen test_screen():
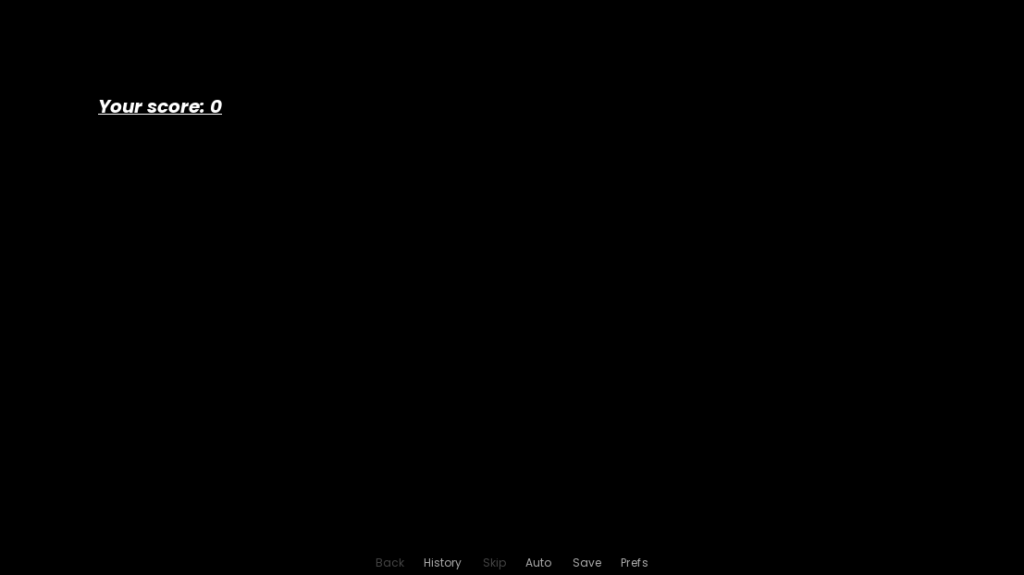
text "Your score: [score]" color "#fff" size 35 pos (300, 200) bold True underline True anchor (0.5, 0.5) italic Truecan be turned into
screen test_screen():
    text "Your score: [score]":
        color "#fff"
        size 35
        pos (300, 200)
        bold True
        underline True
        anchor (0.5, 0.5)
        italic True
You can group properties on the same lines too, if you separate them with a space e.g.
screen test_screen():
    text "Your score: [score]":
        color "#fff" size 35
        pos (300, 200) anchor (0.5, 0.5)
        bold True underline True italic True
The order of the properties does not matter. I often group properties according to their approximate purpose – for the above example, the first two are the colour and size, the second two are positioning properties, and the last three are emphasis. I also tend to keep some properties closer to the top (like background for frames and buttons), but that’s entirely personal preference.
Note that you also can’t split up the text itself into a block. It’s part of the definition of the text element itself. So the following will cause an error:
screen test_screen():
    # Incorrect; will cause an error
    text:
        "Your score: [score]"
        color "#f00"
Kind of like how the value of the property color is "#f00", the value of the element text is "Your score: [score]". You can’t separate the two across a block.
Similarly, you can’t split add from the string with the name of the image.
screen test_screen():
    # Also incorrect; will cause an error
    add:
        "feniks happy"
        zoom 1.25
add and "feniks happy" are connected; the thing being added is “feniks happy”. Without that context, add means nothing. So you can’t separate those two. But you can do:
screen test_screen():
    add "feniks happy":
        zoom 1.25
where the zoom is on its own line as part of a block under add "feniks happy":. In this case, the zoom property means the image will be zoomed to 125% of its original size.
Property Blocks and Conditions
The other great thing organizing properties into a block allows you to do is use conditional statements to further adjust how the screen element looks. For example, let’s say that for the score display I’ve been using in the earlier examples, you want it to display as red if the player’s score is less than 10 and green otherwise.
screen test_screen():
    text "Your score: [score]":
        if score < 10:
            color "#f00" # Red
        else:
            color "#0f0" # Green
You can do this for as many properties as you want, so long as it’s all handled inside a block created from the screen element.
Summary
- Use
add "image_name"to add images to the screen. - Use
text "add text here"to add text to the screen. - You can list properties for any screen element after the element itself. You can also put a colon at the end of the line to create a block, which you can list properties inside for better readability.
- You can use conditional statements inside property blocks to further customize how a screen element looks.
Next Steps
That’s everything for now! We’ll get into some basic containers next, and then start looking at properties to learn how to move these elements around on the screen. Move on to Ren’Py Screen Language Basics – Basic Containers to learn about containers!


awesome guides, i am following start to finish through these and it’s helping me a lot. i hope you don’t stop putting these out!
Thanks for your kind words! I still do have lots of tutorials planned (or even drafted), just have to find the time and motivation to clean them up and put them out 😅
Your tutorials and plug-ins are so perfect and well explained. You’ve easily become my favorite creator here. <3 Thank you so much!